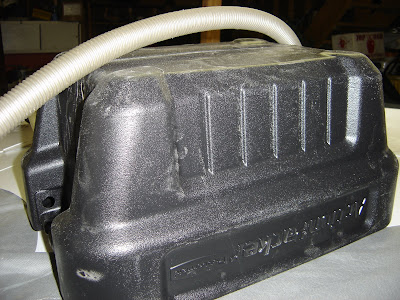
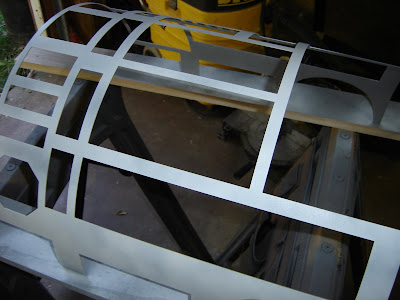
 Jen's R3 is finally cured and here is the finished result. We are both very happy how she is turning out.
 I am still working on silvering pieces today as well.
 Jen's R3 is finally cured and here is the finished result. We are both very happy how she is turning out.
 I am still working on silvering pieces today as well.
 Once that was dry I gave it two thin coats of yellow paint. Tomorrow I will give it another two coats.
 Between the paint layers I got most of the hoses coated with silver to make them look metal.
 ...hooked up the chip to my PC and uploaded this simple program to make sure all the channels worked.
 I also drilled and mounted one of the parts boxes my friend Denny gave me.
 I also temporarily mounted an LED light that I liked on the front of the droid...
 When I put the plastic bubble over the top of it, it defuses nicely :)
 Then I stuffed the ends with plastic bags about an inch down and poured resin almost to the top.
 The resin forms to the ridges of the hose and makes a tight seal. I then drill a pilot hole and thread some screws in.
 With the small amount of space left empty at the top the hoses will compress a bit and form a seal around almost anything to make it look like it goes threw the item.


 Carefully I lined up the Hummer after getting it put back together and gently set it in place and pushed down evenly so the Velcro was seated.
 The clearance is an inch all the way around to the ground and the tires do not rub when turning now.
 We took it out in the cold for a quick spin and everything works fine.
 I even took it off road and it still zipped along fine. The battery only lasts 20 minutes. 25 if it is on level ground. Plenty of time for me :)


 I will make a frame attached to the top of the Hummer out of plastic 1x2 that will keep the vehicle centered on the container and raise the wheels an extra inch outside the container.The inside of the box and the top of the new upper frame will have Velcro for easy removal from one another.
 Here is a picture of all the parts I got so far for my Scrubber Droid.
 Craft parts from a hobby store.....
 Cable hold downs and pull threws.
 I am also adding one of my PICAXE controllers to blink the LEDs on the unit. The top two Red LED trailer lights will blink in Morse Code the word "SCRUBS". I wonder how many non builders will notice. LOL
 Today I put a coat of primer and paint on some of my skin parts before it got dark.


 Next I did the trimming on the back skins for the power coupler and octagon port.
 Once it got dark Brad and L.C. came over and we finished routing out the big leg parts.


 The pile just keeps getting bigger and bigger!
 After a bit L.C. had to leave and Dash came over with his newly purchased USED bansaw.

 Thursday we hope to hollow out the 3/4 inch leg pieces with the new saw.