Also got the slats put on as well as the eye disks. Little bit of refining and he will be ready for sanding.
Showing posts with label Dalek. Show all posts
Monday, March 7, 2016
Saturday, February 27, 2016
George's balls
Got all of Dalek George's balls on and aligned the skirt and shoulder section and attached them. Then i took out the temporary internal supports out and finally got to try him on for size. :)
Monday, February 22, 2016
Monday, February 15, 2016
Spring is almost here!
Today was the first signs of spring with weather in the upper 40s so I decided to open up the shop for real and get some work done on the bigger projects.
With the new jigs I made I made 5 pieces of the Dalek skirt.
Next I did a new basecoat on the GONK where the paint has chipped off over the years. When it is a bit more warm I will put a topcoat.
Also got some spring cleaning done in the basement where all the robots like to hang out. :)
Saturday, January 16, 2016
Mass quantities of resin
Monday, January 11, 2016
Making molds 101
I got tired of pouring one resin Dalek ring at a time. As I need 56 of them for just one Dalek it would take way to long to get them all done. So I decided to make two extra molds to make the work go faster. Making a mold is easy, just a flat surface and some strips of wood. Some people use Legos but I prefer my molds to have a flat smooth bottom and walls.
One the framework is together and sealed with hot glue so no material can leak out the jig, mold compound is then added with the piece to be duplicated centered in the jig. Always pour to the lowest spot first pouring from as high as you can to get rid of bubbles in the mix.
Pouring three seals up at once makes things go a lot faster! Any left over resin from each pour is put into another mold of parts I still need for my builds.
The finished product! A full Dalek bump with the black ring! Only 44 left to go!
Saturday, July 7, 2012
Monday, July 2, 2012
Console progress!
A few friends came over to help with some of the wood work on the console. Matt did all the cutting with the skill saw. Thanks man!
Everyone was helping do something. Once we got one panel fitted, the rest were easy.
In no time all the panels were in and being fitted.
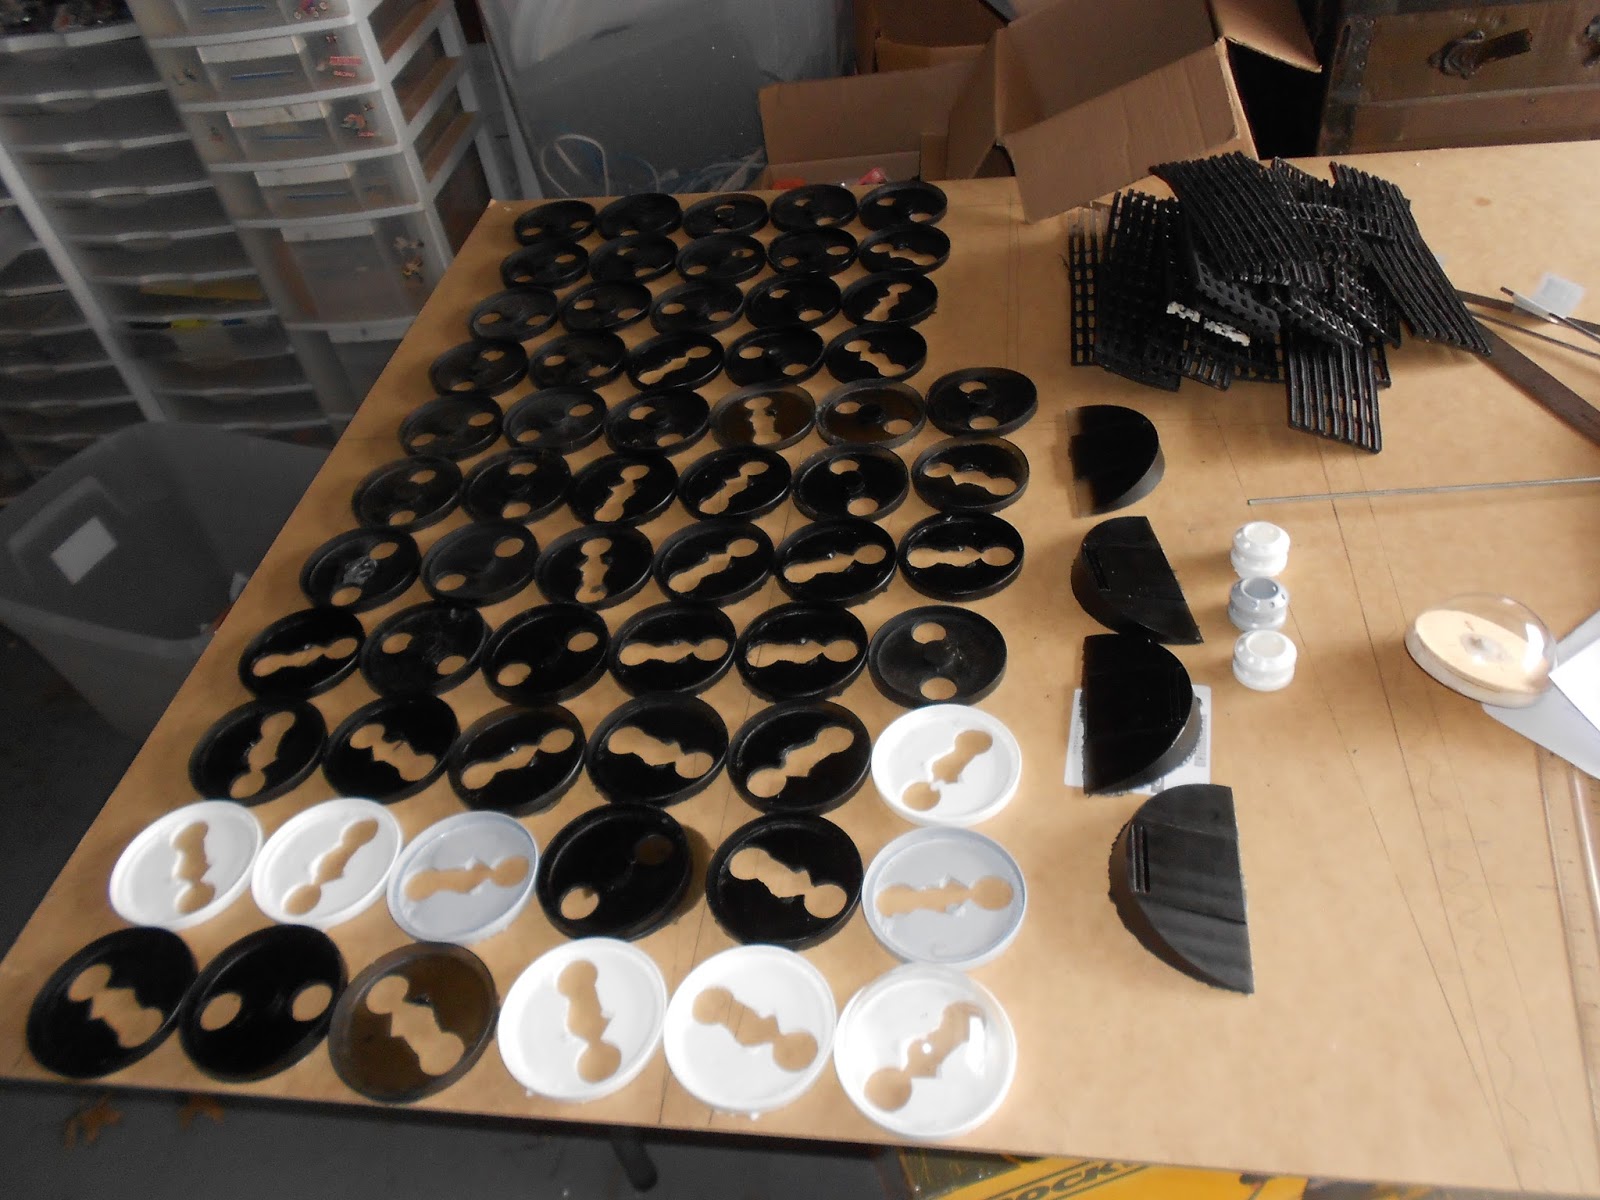
Later the women took over router duties. Jen, Tat, and Jeanette trimmed some circles to the proper size.
How the console looks so far...
How Dalek Bob looks with his new ears...

Tuesday, June 26, 2012
Dalek Dome
Here is Jen doing some router work for me, getting pieces ready for the inside of one of the heads.
Here is a preview of one of the Dalek Domes we are doing, got the swivel mechanism installed so the head can turn, and the eye stalk is progressing nicely. The ears and all the wiring are the next thing to go on.


Saturday, May 19, 2012
We got wheels man!
Put the wheels on my Dalek build today! Now he can move around with ease.
Also put some casters under the TARDIS console as it is a pain to move otherwise.
No pics today, sorry.
Also put some casters under the TARDIS console as it is a pain to move otherwise.
No pics today, sorry.
Friday, April 27, 2012
Just another day in the garage...
Friday, December 30, 2011
Sunday, June 26, 2011
Bumps and Plungers
Got some progress done on my Dalek this week. Got most of the bumps made and the plunger and eye mount started. The head is coming along nicely as well. :)
Subscribe to:
Posts (Atom)