Back to the power droid today. I decided not to take the time and replicate the original feet to the letter and made some out of some Rubbermade containers. I cut the top out of the lids and a hole on the bottom side for the leg to fit threw. I also used some caulking to block out all the logos. Then i liquid nailed the lids together permanently.


I primered the feet then used a stone spray texture I had left over to give everything a texture and color when painted.


I glued down the angle brackets and screwed them down for a strong leg joint.

After painting the feet I set them on the stand to dry for a while.

Next I glued on the "E" on both sides of the head and the main power couplers.

I also tackky glued and liquid nailed the top cover on.


I then primered, spackled, then painted the body parts.

Next was the feet hoses, I cut some old hose to length.

I clamped the hose ends together.

Plugged the end of the hoses, and filled them with more liquid nail to drill out later for mounting screws.


 I still need a haircut, LOL.
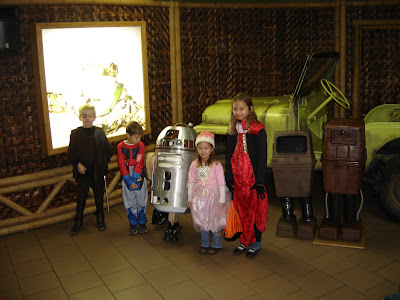
 The rest of the day people took pictures with the droids and I put on a show for the spectators.


 HEAD ON


 I primered the feet then used a stone spray texture I had left over to give everything a texture and color when painted.
 I glued down the angle brackets and screwed them down for a strong leg joint.
 After painting the feet I set them on the stand to dry for a while.
 Next I glued on the "E" on both sides of the head and the main power couplers.
 I also tackky glued and liquid nailed the top cover on.
 I then primered, spackled, then painted the body parts.
 I clamped the hose ends together.
 Plugged the end of the hoses, and filled them with more liquid nail to drill out later for mounting screws.
 I cut out the area for the power connector so I can use the updated version.
 Then I cut some extra skin off the octagon port area so it sits flush to the front skin.
 I then test fitted both pieces and they both seem to fit fine.
 It is starting to get real cold out so I better decide soon on what I want to do with the skins so I can paint them.